First Container: Deploy pgAdmin 4
This article uses pgAdmin 4 as an example to demonstrate how to quickly deploy Docker containers through AcePanel.
Install Docker
Go to the "Applications" page, find Docker on the "Native App" tab and install it. Installation progress can be viewed under "Task" -> "Panel Tasks".
Servers in China
Pulling images is slow on servers in China. It is recommended to configure the paid acceleration source provided by Millisecond Mirror.
Deploy Container
Go to "Applications" -> "Container Template", find pgAdmin 4, and click "Deploy". The deployment is a four-step wizard: Deploy Mode, Configuration, Preview & Edit, and Confirm.
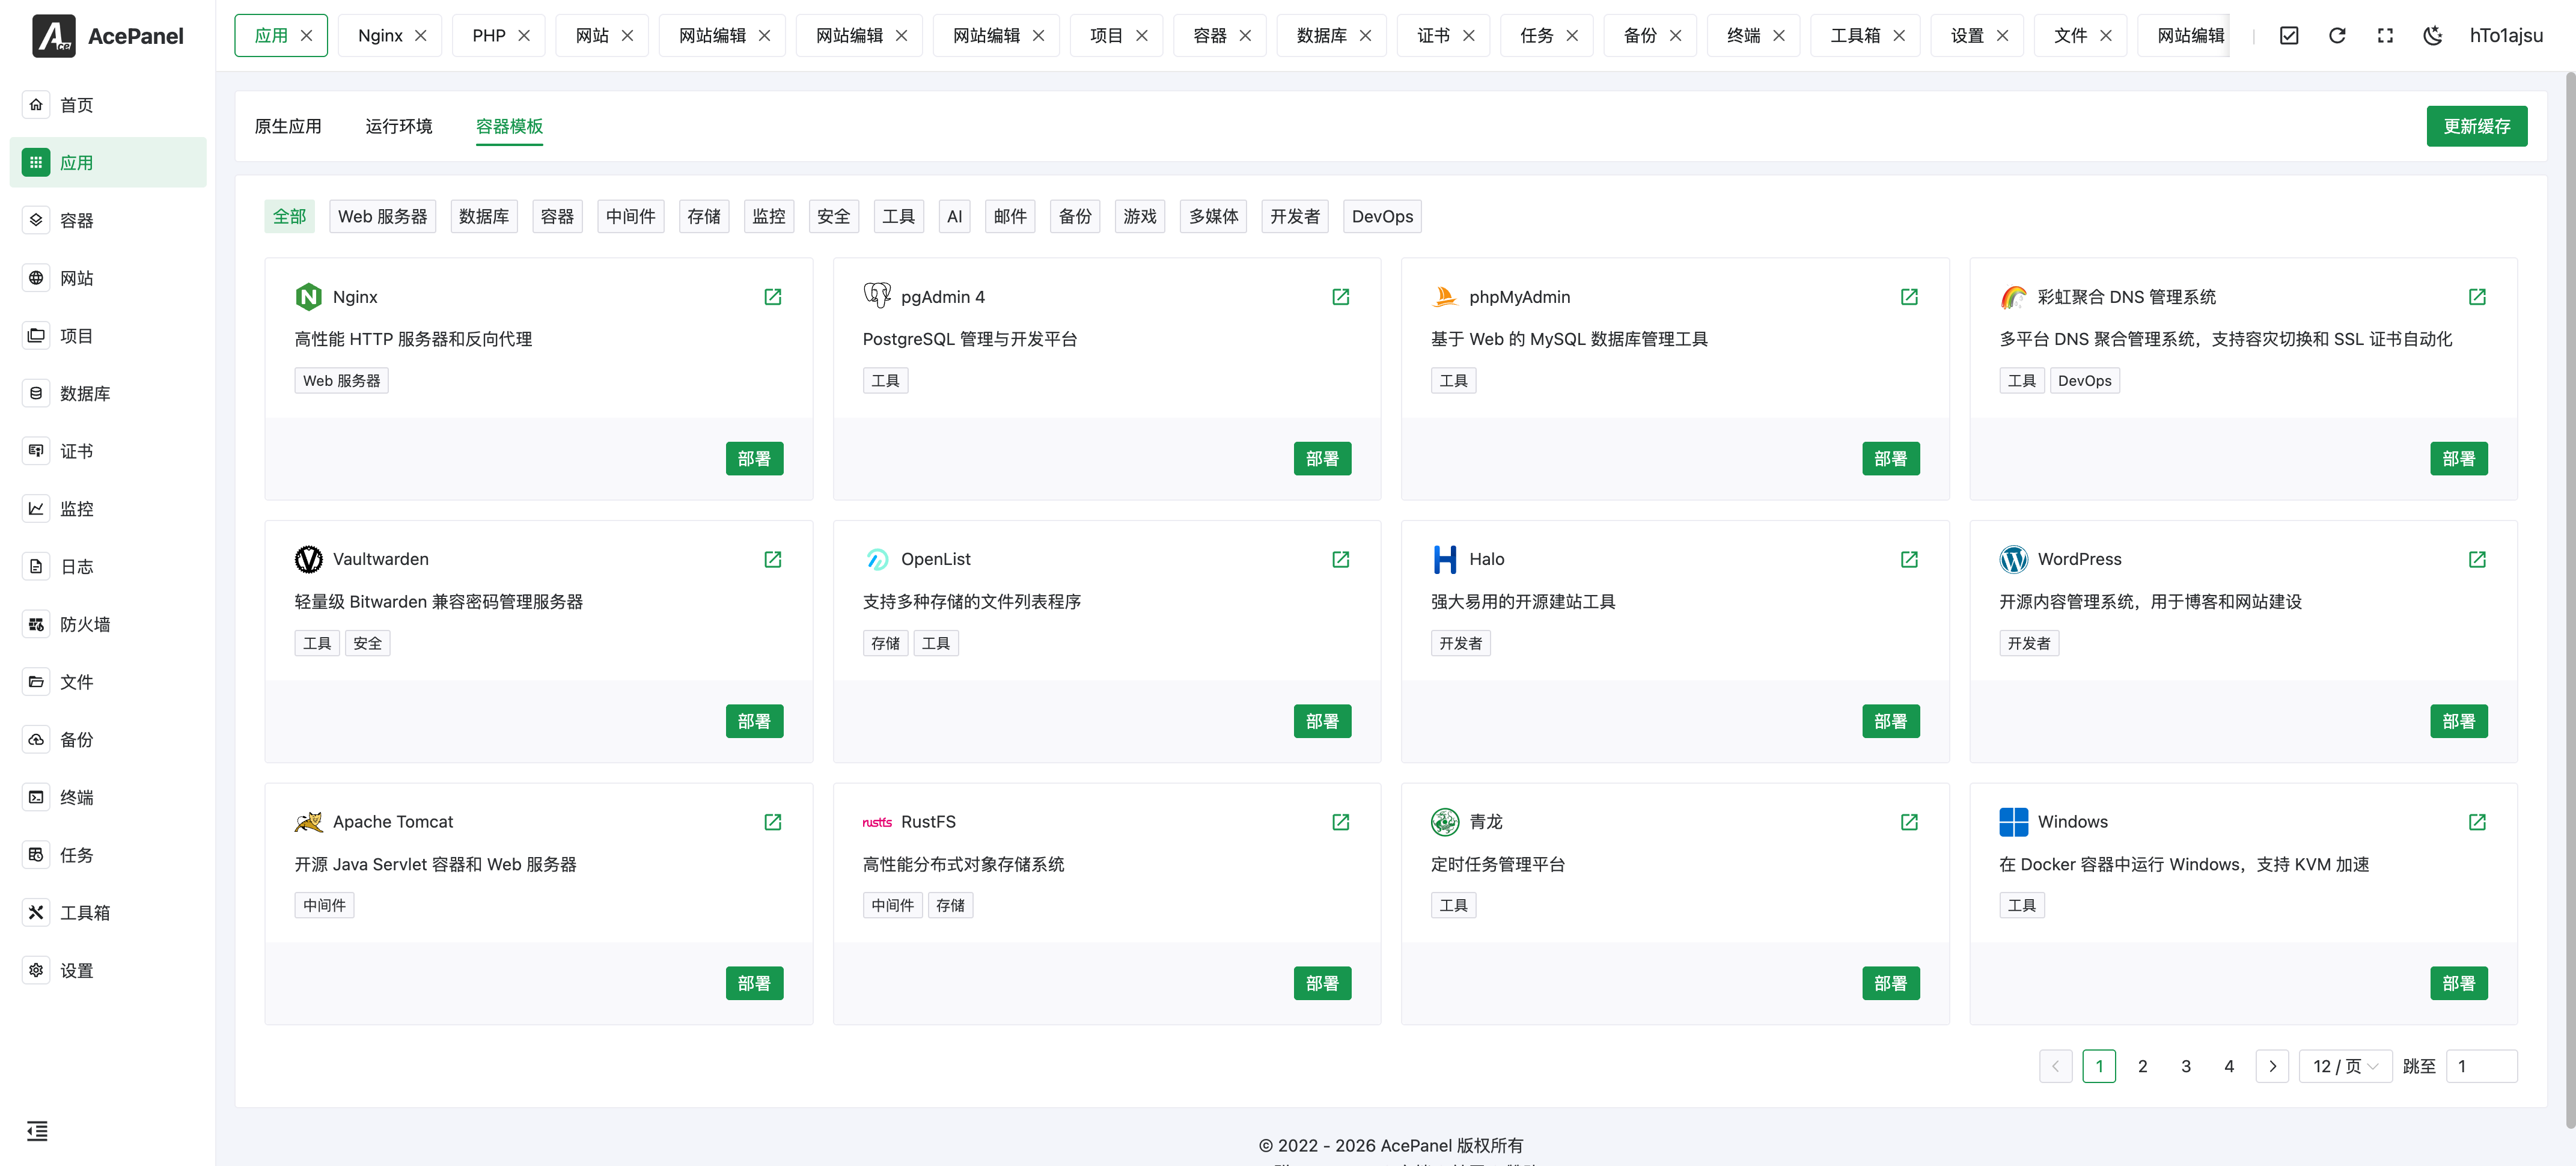
On the template list you can narrow down the choices using the category tags at the top or the search box on the right. Each template card shows its icon, name, and description; a "Local" tag marks templates stored on this server (rather than fetched from the remote template repository), and templates that define a homepage show an external-link button you can click to open the project website.
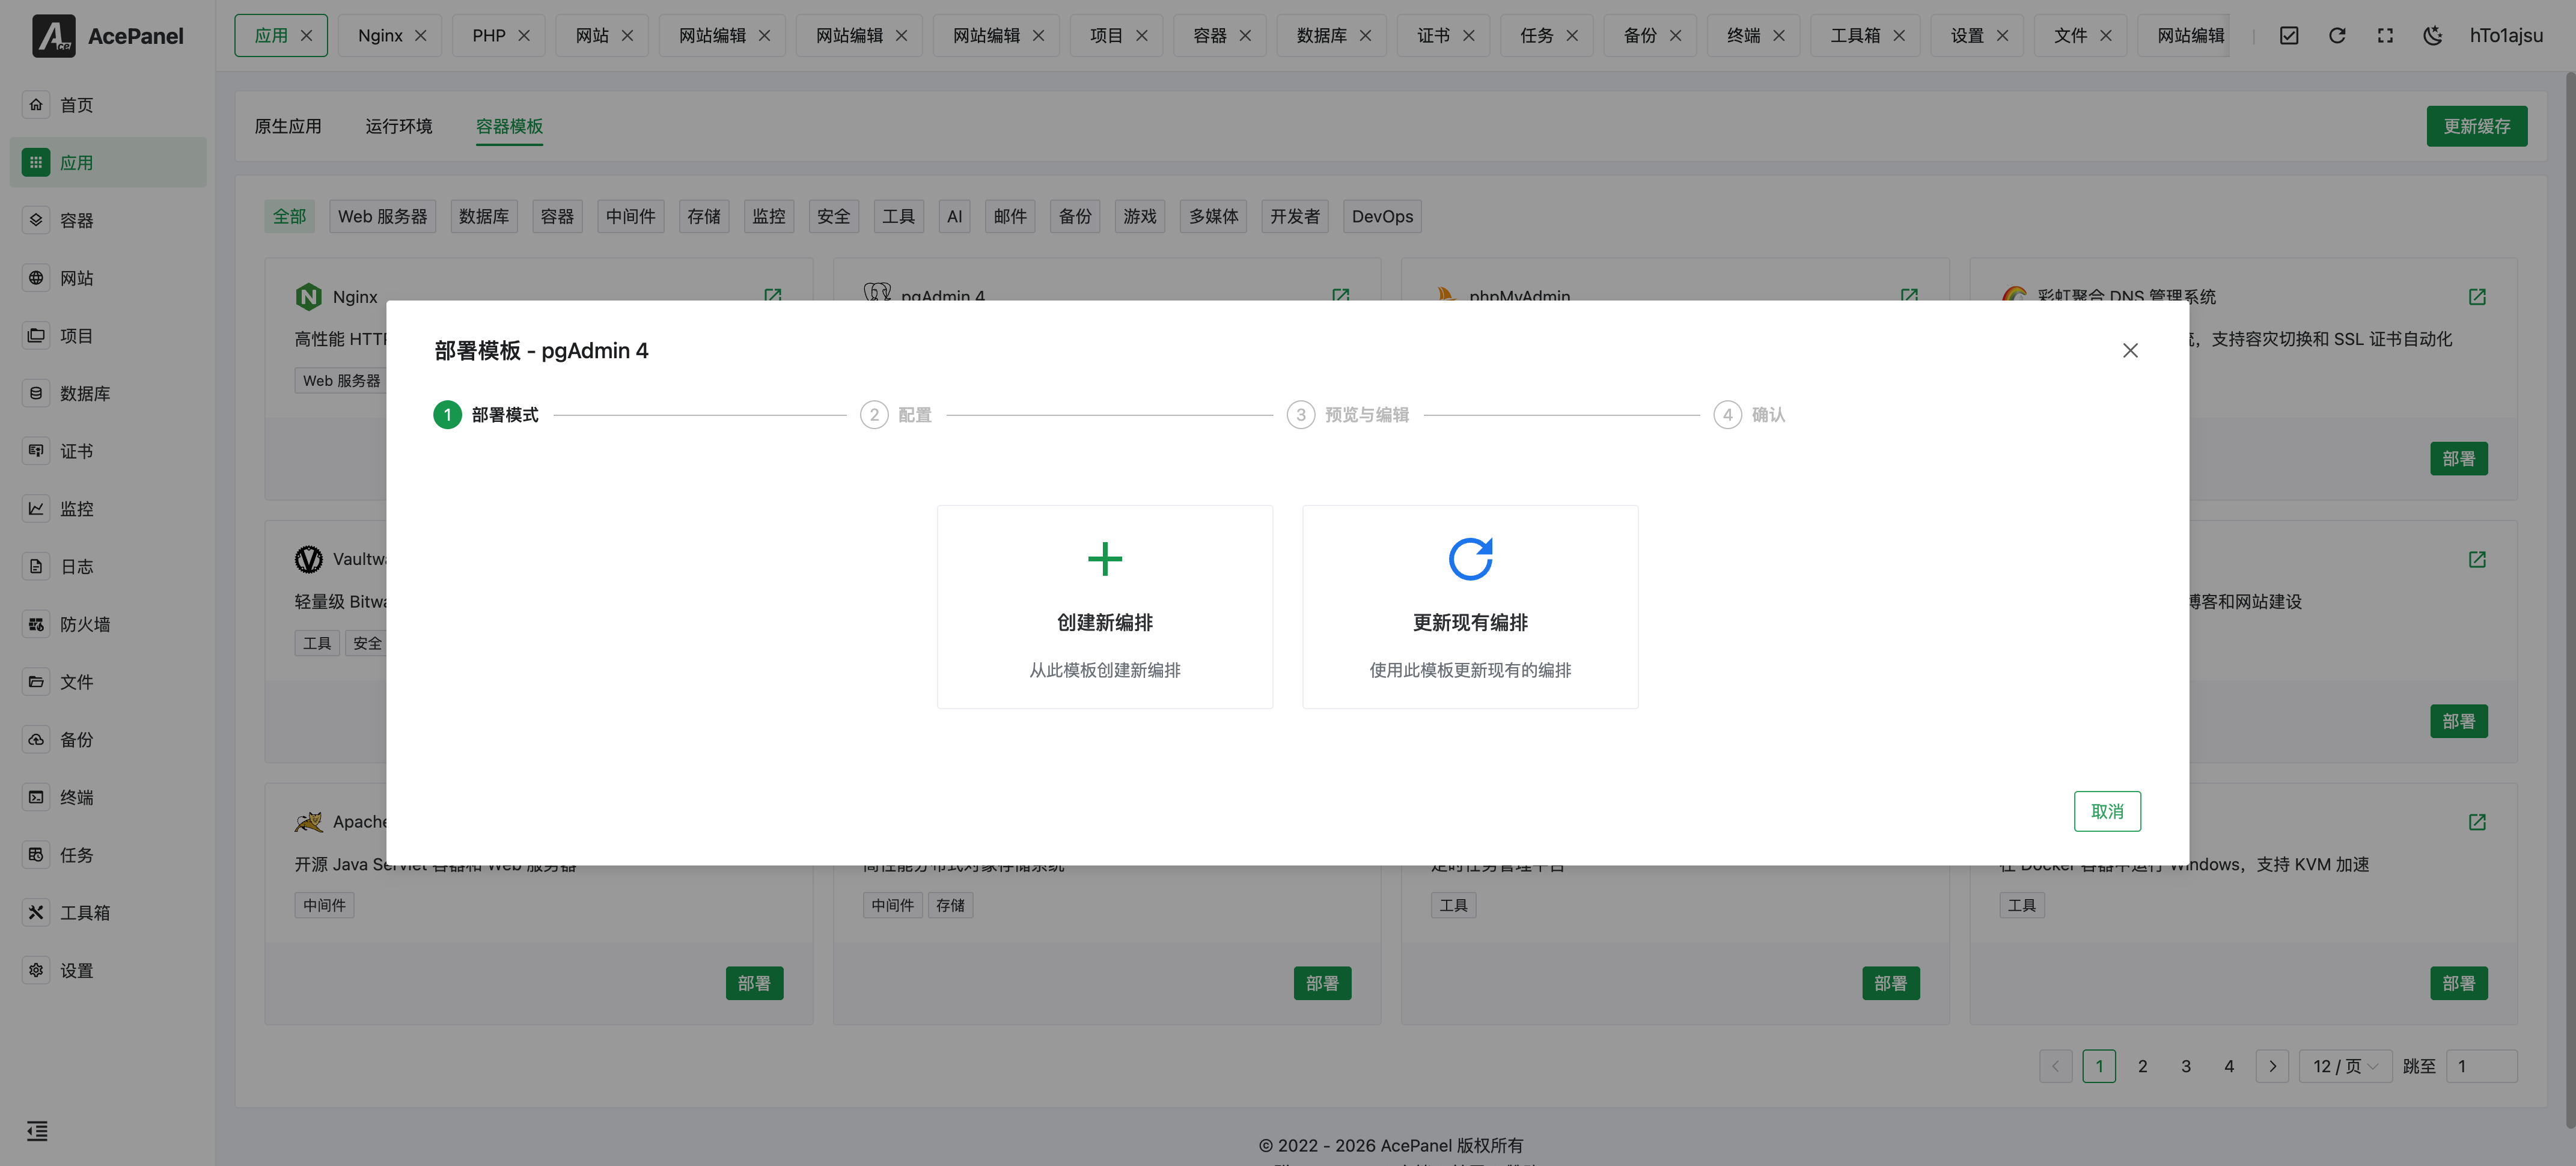
In the "Deploy Mode" step, choose "Create New Compose" (the other option, "Update Existing Compose", applies the template to an existing compose instead).
In the "Configuration" step, fill in the configuration:
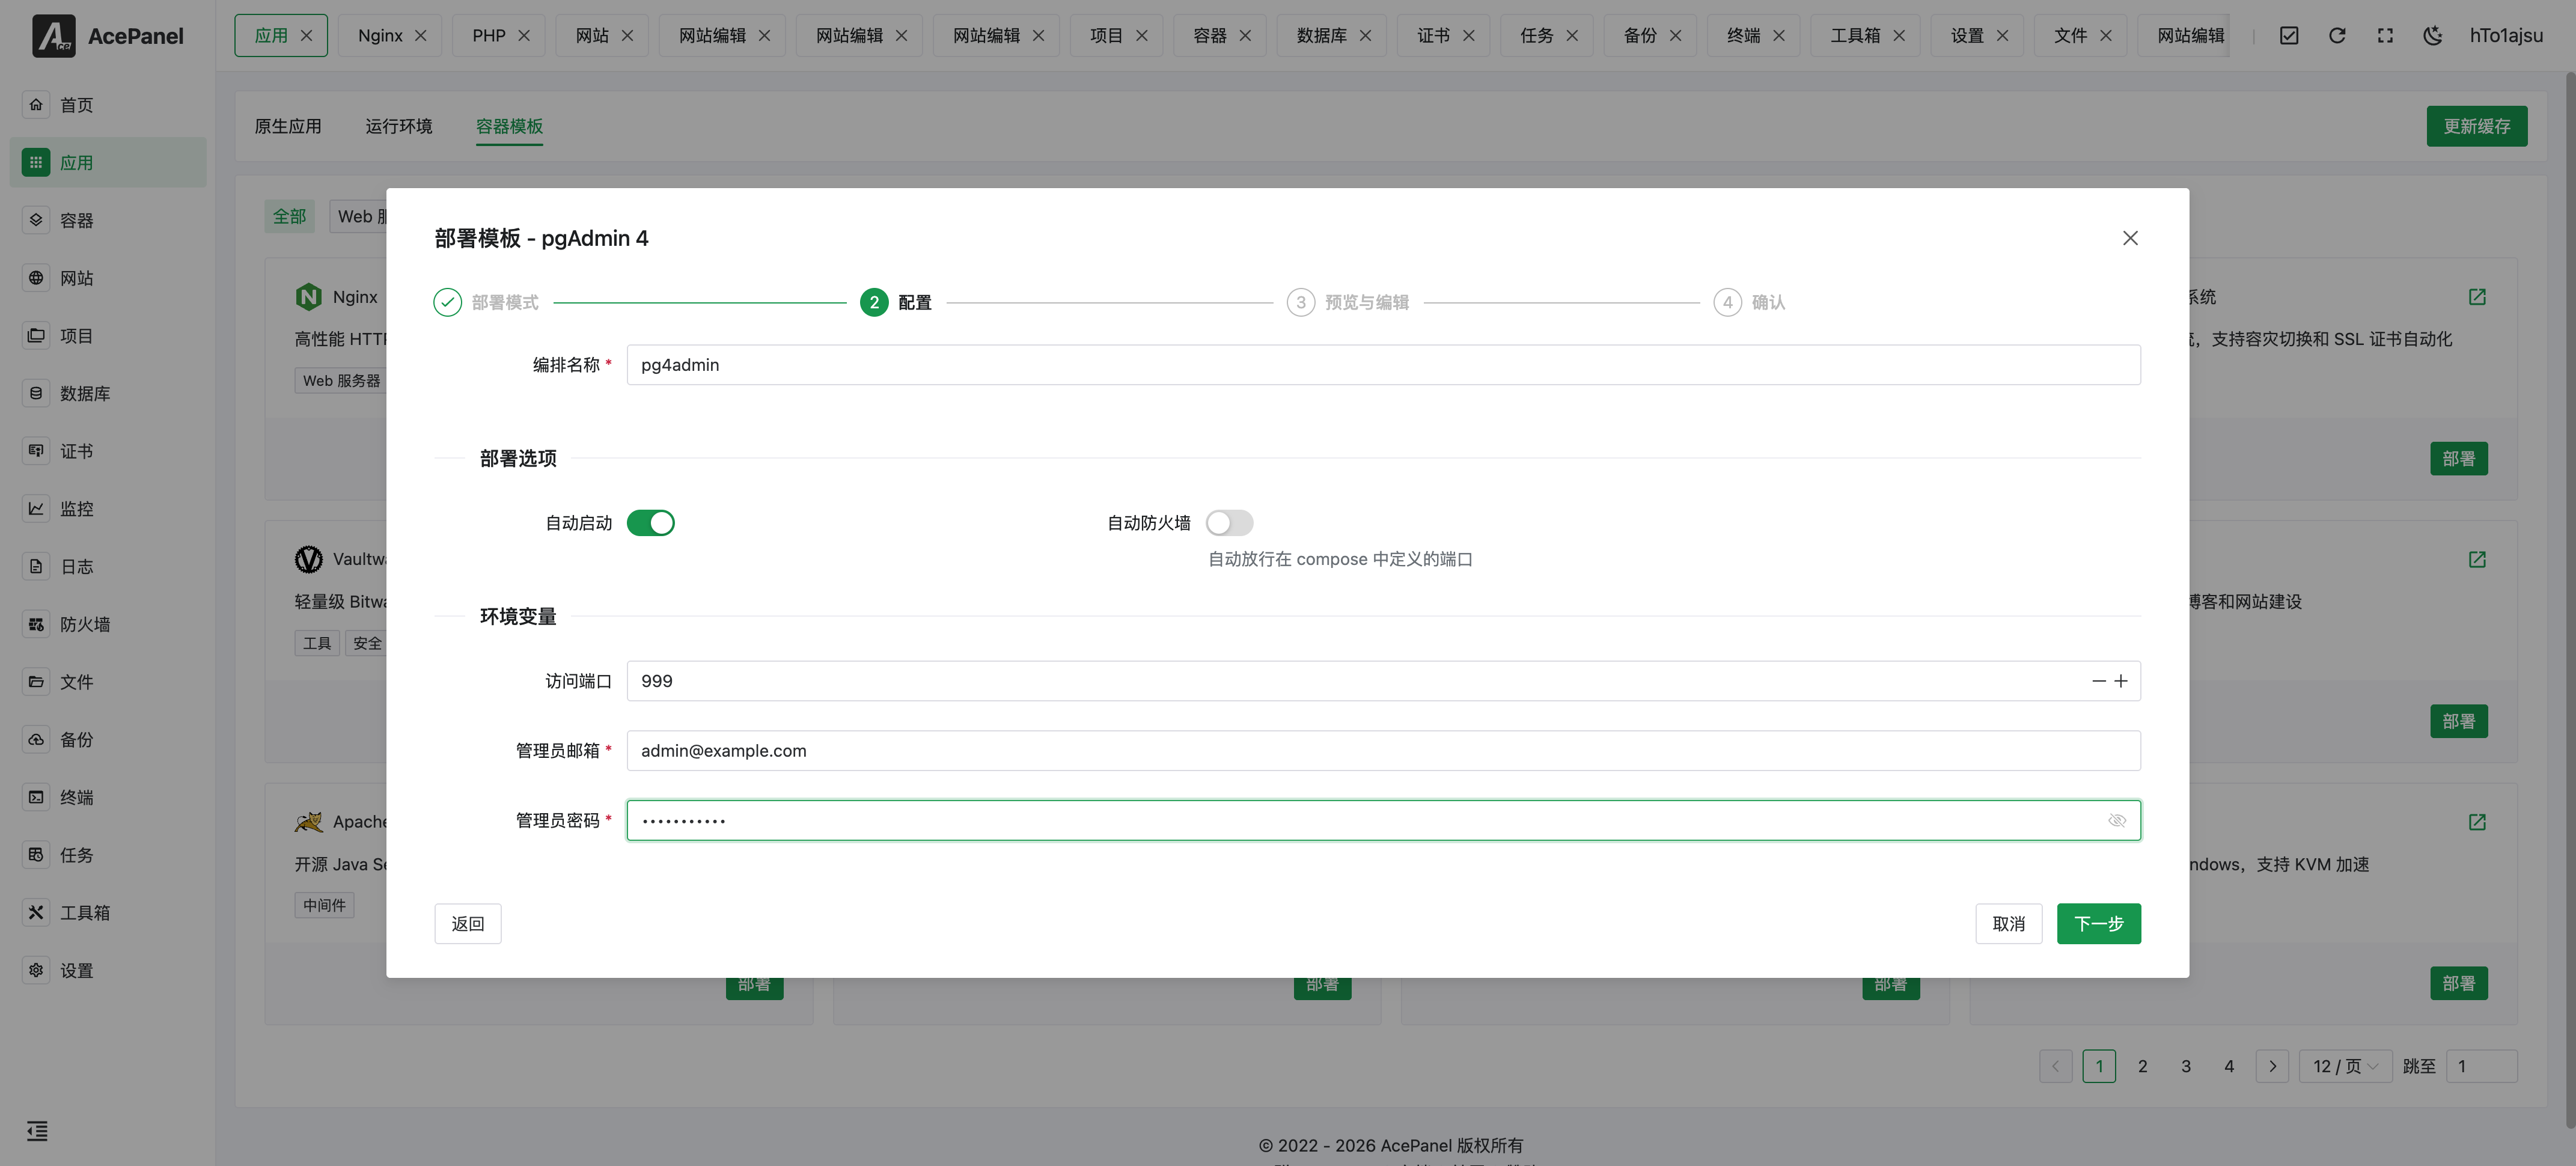
- Compose Name: Give the compose a name, e.g.,
pg4admin - Auto Start: When checked, automatically pull images and start after creation
- Auto Firewall: When checked, automatically allow the ports defined in the compose
- Access Port: Map container port 80 to host port, e.g.,
999 - Admin Email/Password: Login credentials for pgAdmin 4
The fields below the "Environment Variables" divider (Access Port, Admin Email, Admin Password, etc.) come from the template's environment variables and vary per template. Each variable is rendered as an input that matches its declared type:
| Type | Input shown | Notes |
|---|---|---|
text | Plain text input | Default type |
password | Password input (click to reveal) | For secrets such as admin passwords |
number | Numeric input | Numbers only |
port | Numeric input limited to 1-65535 | Used for host port mappings such as Access Port |
url | Text input | Validated as a well-formed URL |
select | Dropdown | Choose from the options the template provides |
Any field whose template does not define a default value is required and must be filled in before you can continue; fields with a default may be left blank to keep that default.
Click "Next" to go to the "Preview & Edit" step. This step has two tabs:
- Compose File: A YAML editor showing the final
docker-compose.yml. You can fine-tune it by hand before deploying. - Environment Variables: A key/value editor listing every variable that will be written. You can add, edit, or remove entries here.
Click "Next" again to reach the "Confirm" step. It shows a summary of your choices (deploy mode, compose name, Auto Start, Auto Firewall, and the number of environment variables) and a collapsible, read-only preview of the final compose content. Click "Create" to confirm.
Update an Existing Compose
In the first step you can instead choose "Update Existing Compose" to apply the template to a compose that already exists on the server. The flow is the same four steps, with a few differences:
- In the "Configuration" step you pick the target compose from a searchable dropdown instead of entering a new name. The form is then pre-filled with that compose's existing environment variable values so you only need to adjust what changed.
- The "Preview & Edit" step shows a diff editor: the original compose on the left and the new compose (which you can edit) on the right, making it easy to see exactly what the template will change.
- The "Confirm" button reads "Update" instead of "Create", and the Auto Firewall option is not shown in this mode.
Wait for Startup
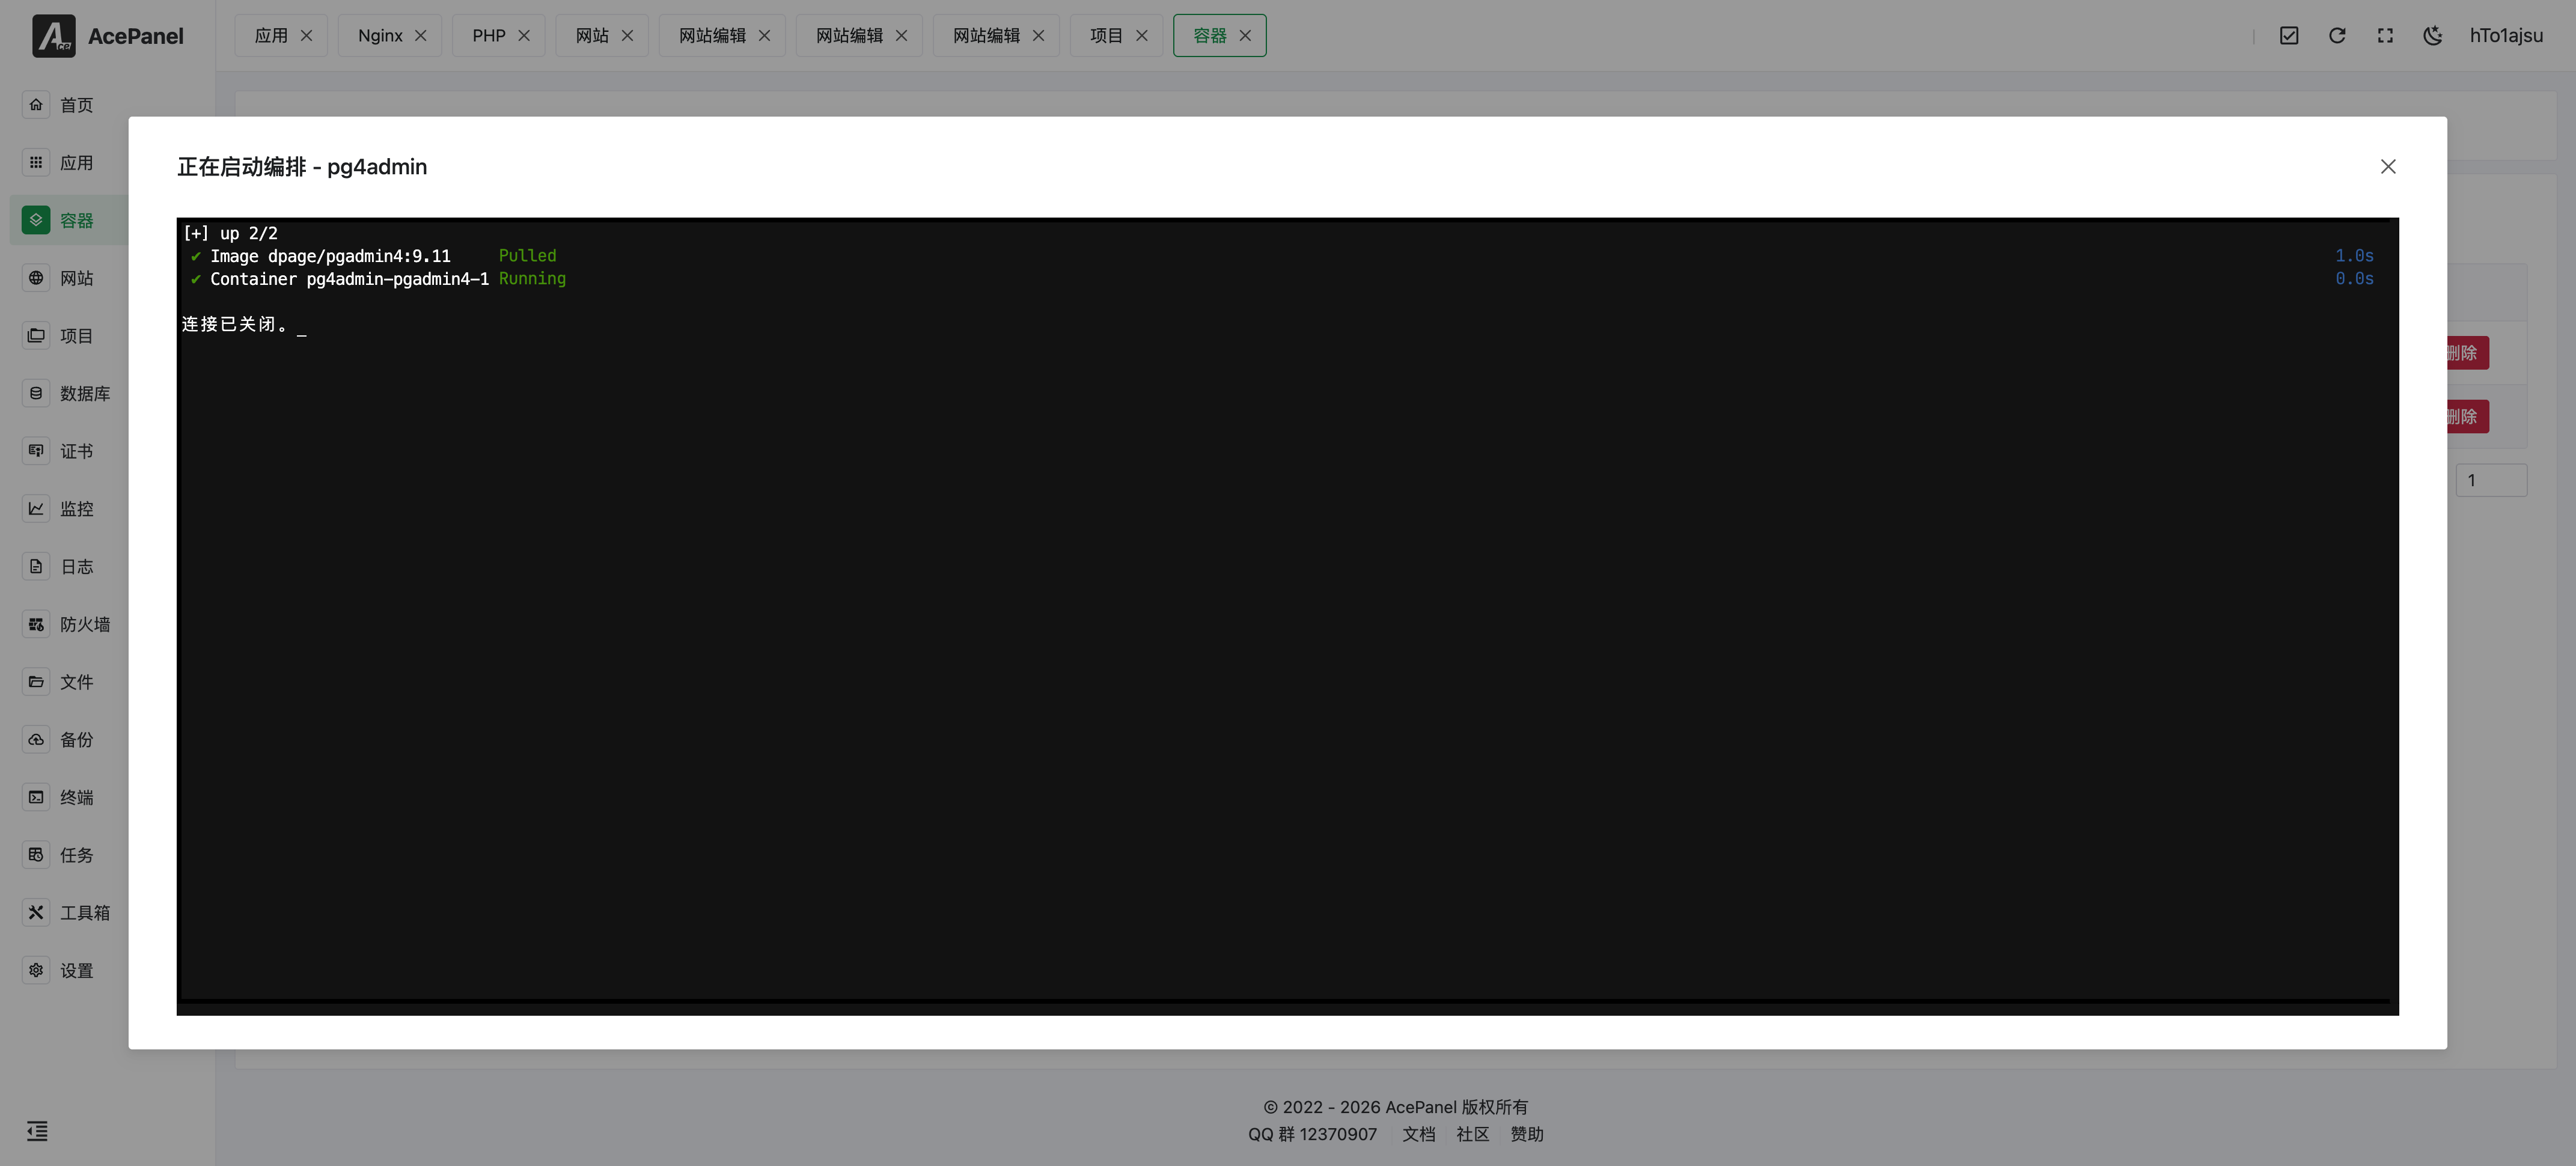
If "Auto Start" is checked, a terminal popup opens after creation and runs docker compose ... up -d, streaming the image pull and startup progress live:
If you left "Auto Start" unchecked, no images are pulled yet. Go to the "Containers" -> "Compose" page and start the compose there.
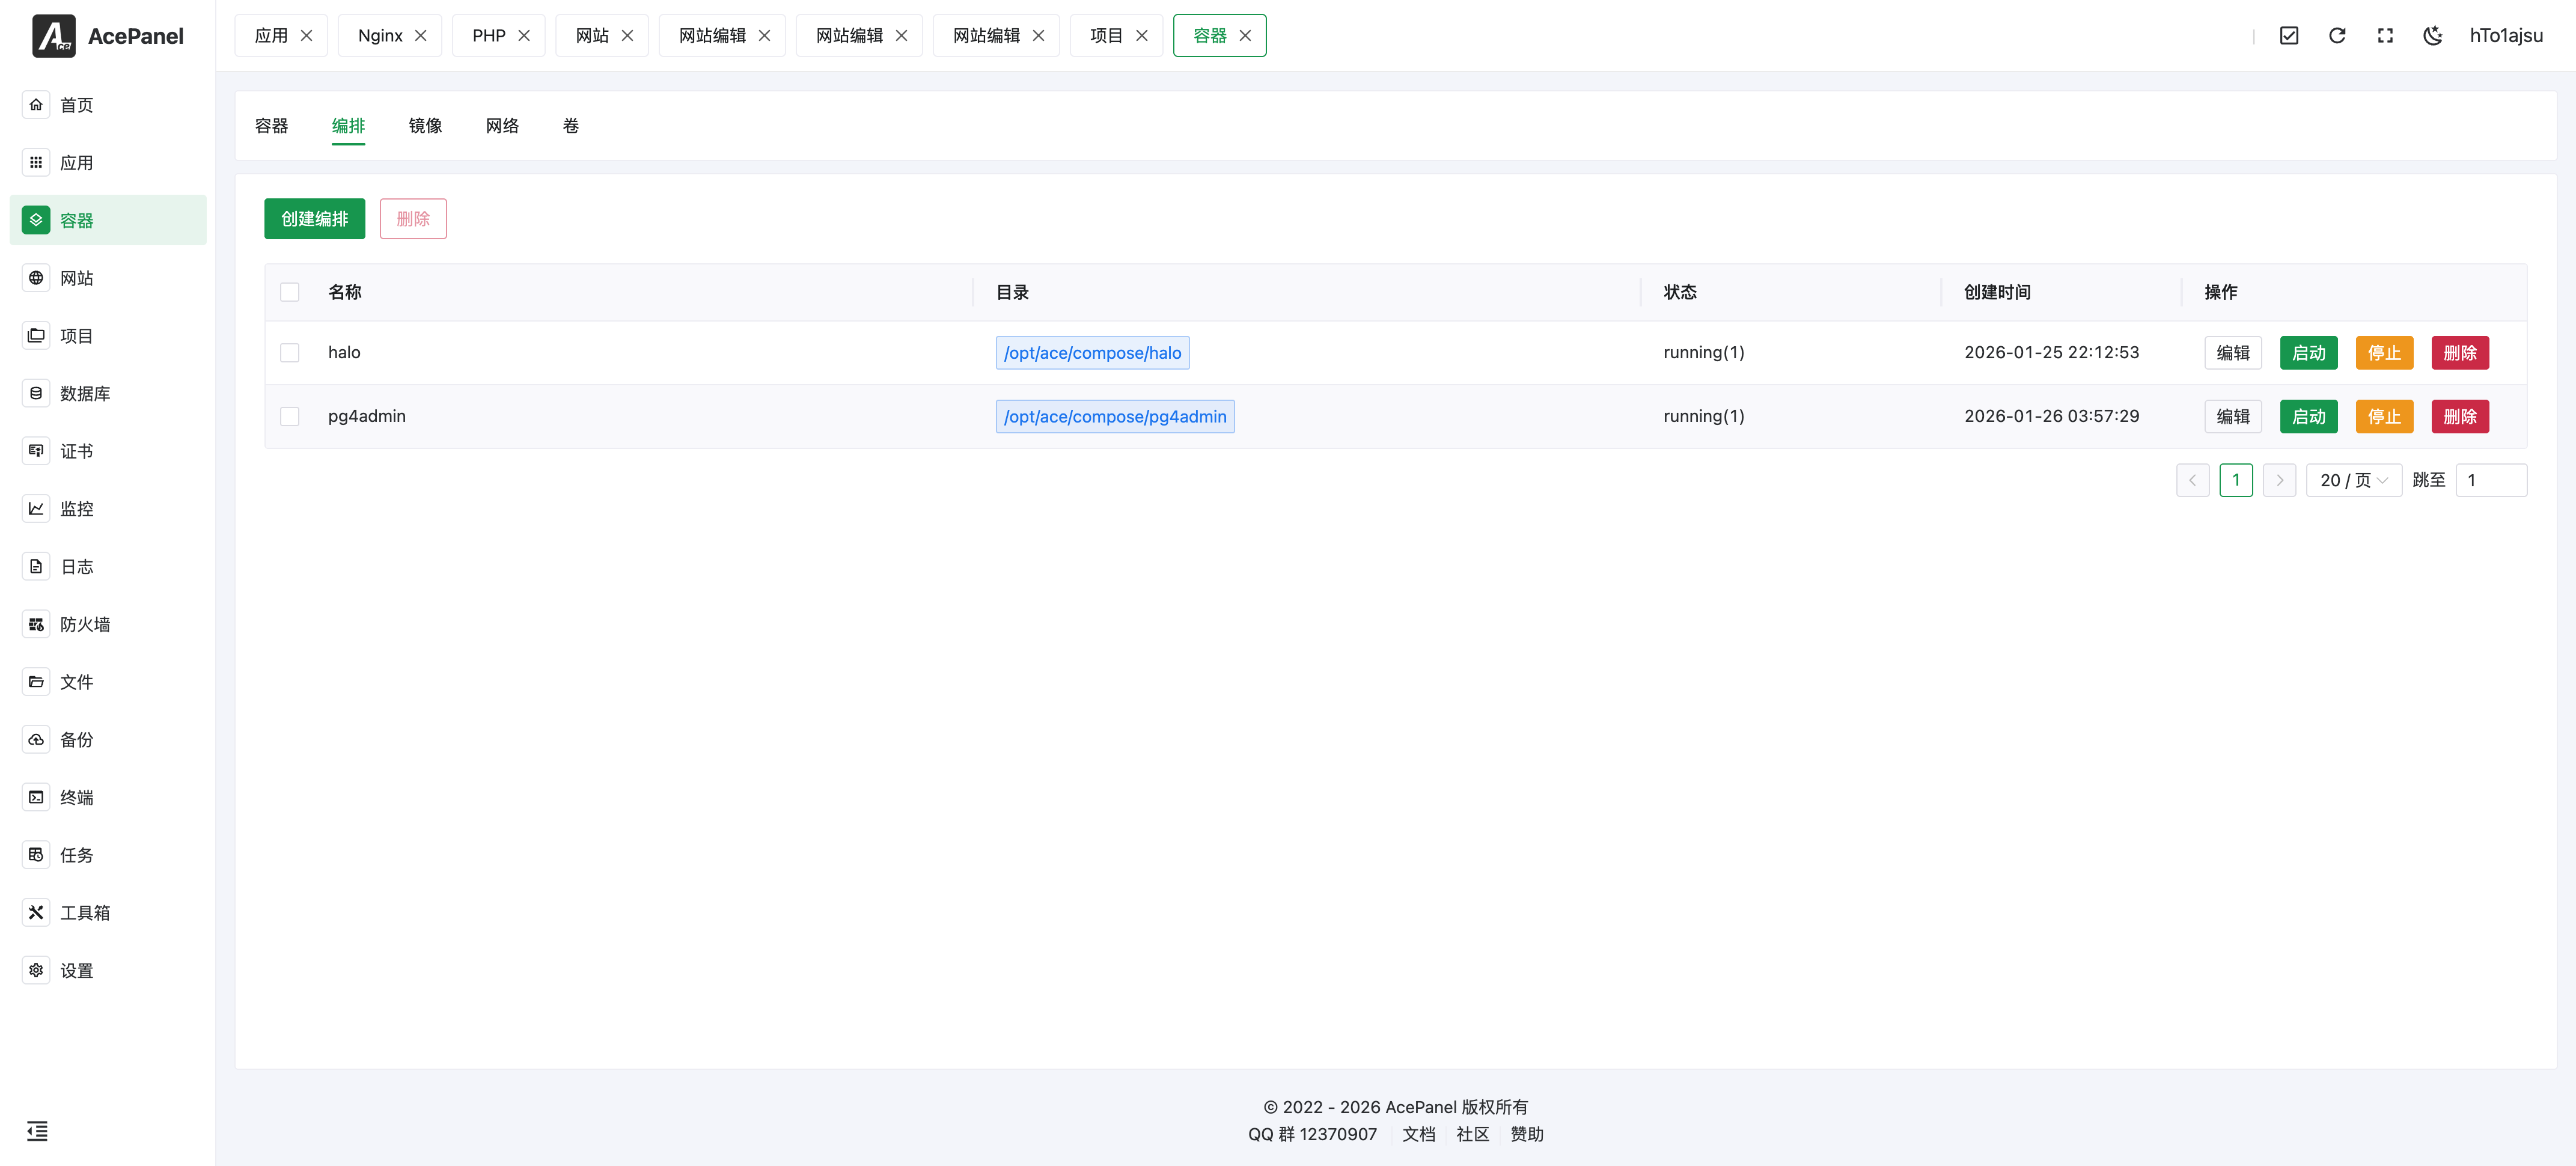
You can also manually manage in "Containers" -> "Compose" page:
Access Service
After startup is complete, access http://ServerIP:Port (e.g., http://x.x.x.x:999) in your browser, and log in with the email and password you set earlier.